Steps to Obtain Your Public and Private Key
Step 1: Login or create a Stripe account
Log in to your Stripe account. The Stripe account you use for your centre or school must be a Stripe business account. You can create a new Stripe business account for free if you don't have one. When creating a new Stripe account, you must ensure to select the correct region (country where your business is be based).
Step 2: Head to the Stripe dashboard
IMPORTANT!
Your account must be activated to access live data! Do not use test mode Stripe API credentials to link with your account. This will not work. You will require 'Standard Keys or LIVE production Keys' to link to your account.
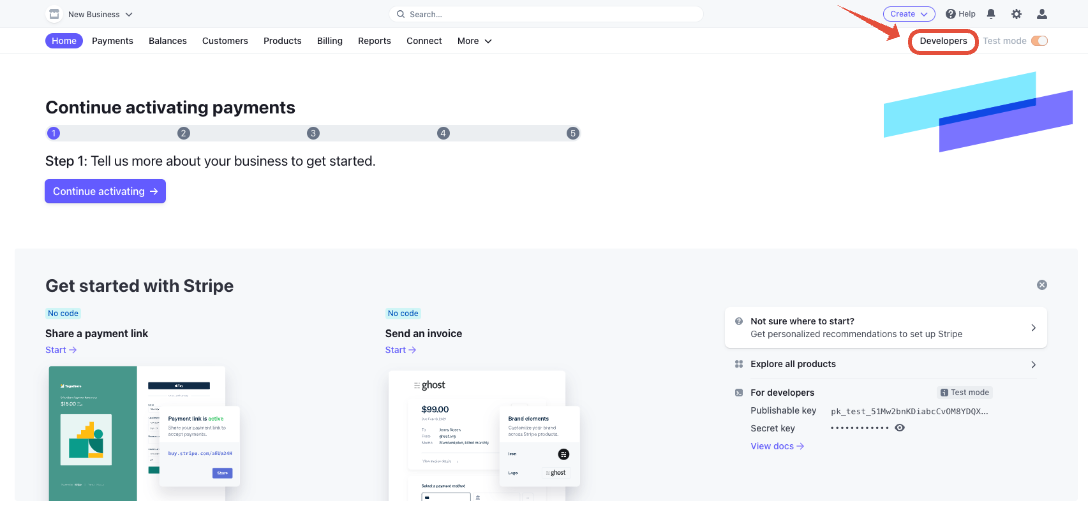
Navigate to the 'Developers' tab on your Stripe dashboard. If you cannot find the menu of the developer portal, click on the below link once logged in https://dashboard.stripe.com/developers
Step 3: On the Developers page, click on the API Keys tab
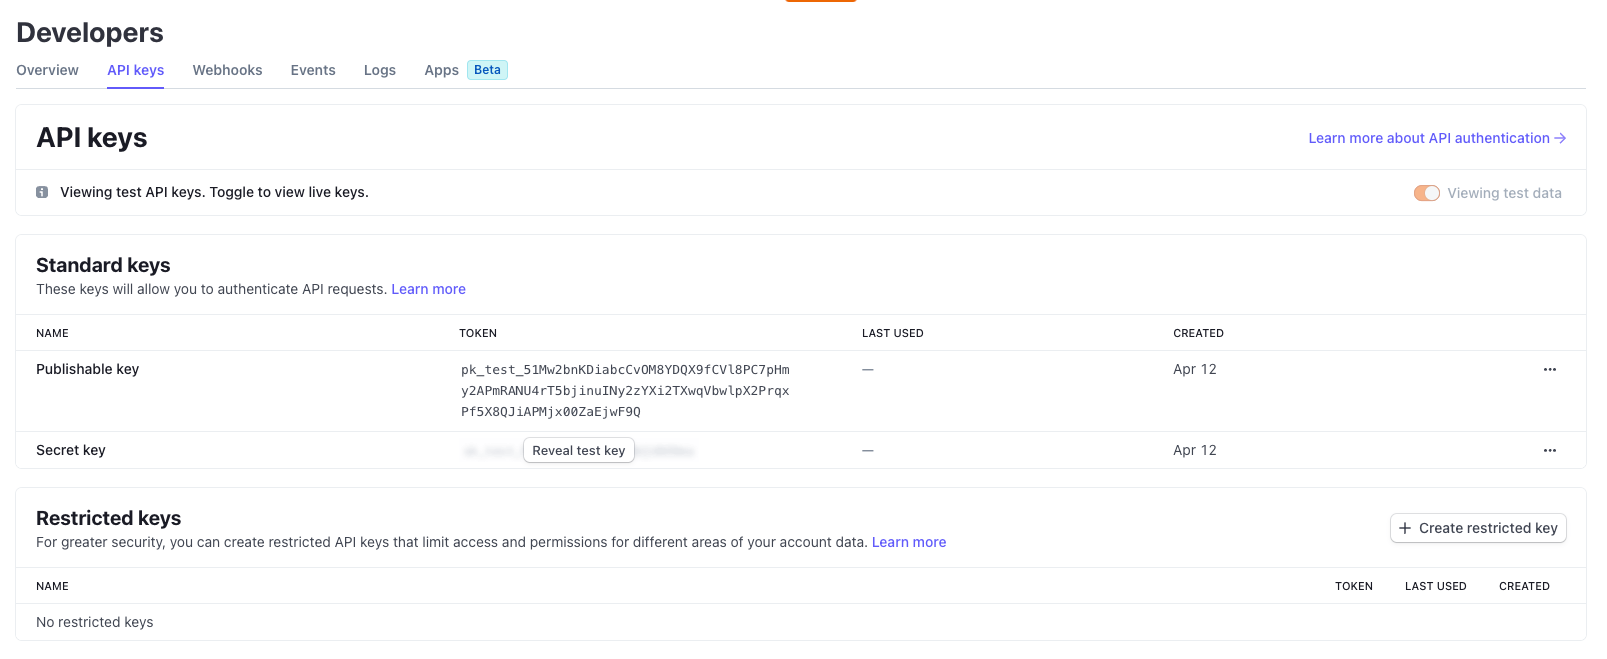
Click on the 'API Keys' tab on the developers page. This page will display your standard API keys and credentials, which you will need to save to your account.
IMPORTANT!
For security reasons, do not share your publishable or secret keys with anyone. Once the keys are entered into your settings, the system will encrypt the keys and hash part of the information. You can only view the full key information again (a non-hashed version of the key) on your Stripe account.
To copy the keys, click on the text displayed under the 'Token' tab on your Stripe API keys dashboard. This will copy the Publishable Key to your clipboard, and you can paste it onto the pop-up box in Cheqdin's web portal. Click on 'Reveal Live Key' to show the live key or private key. Click on the text to copy it to your clipboard and then paste it into the Private Key input on your Stripe settings.